
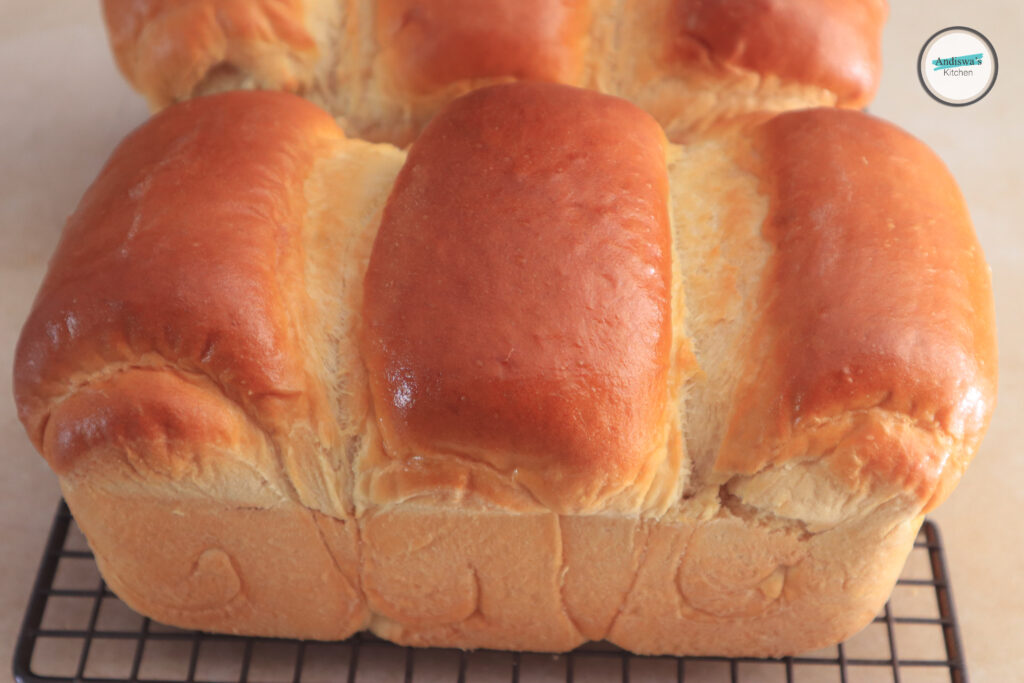
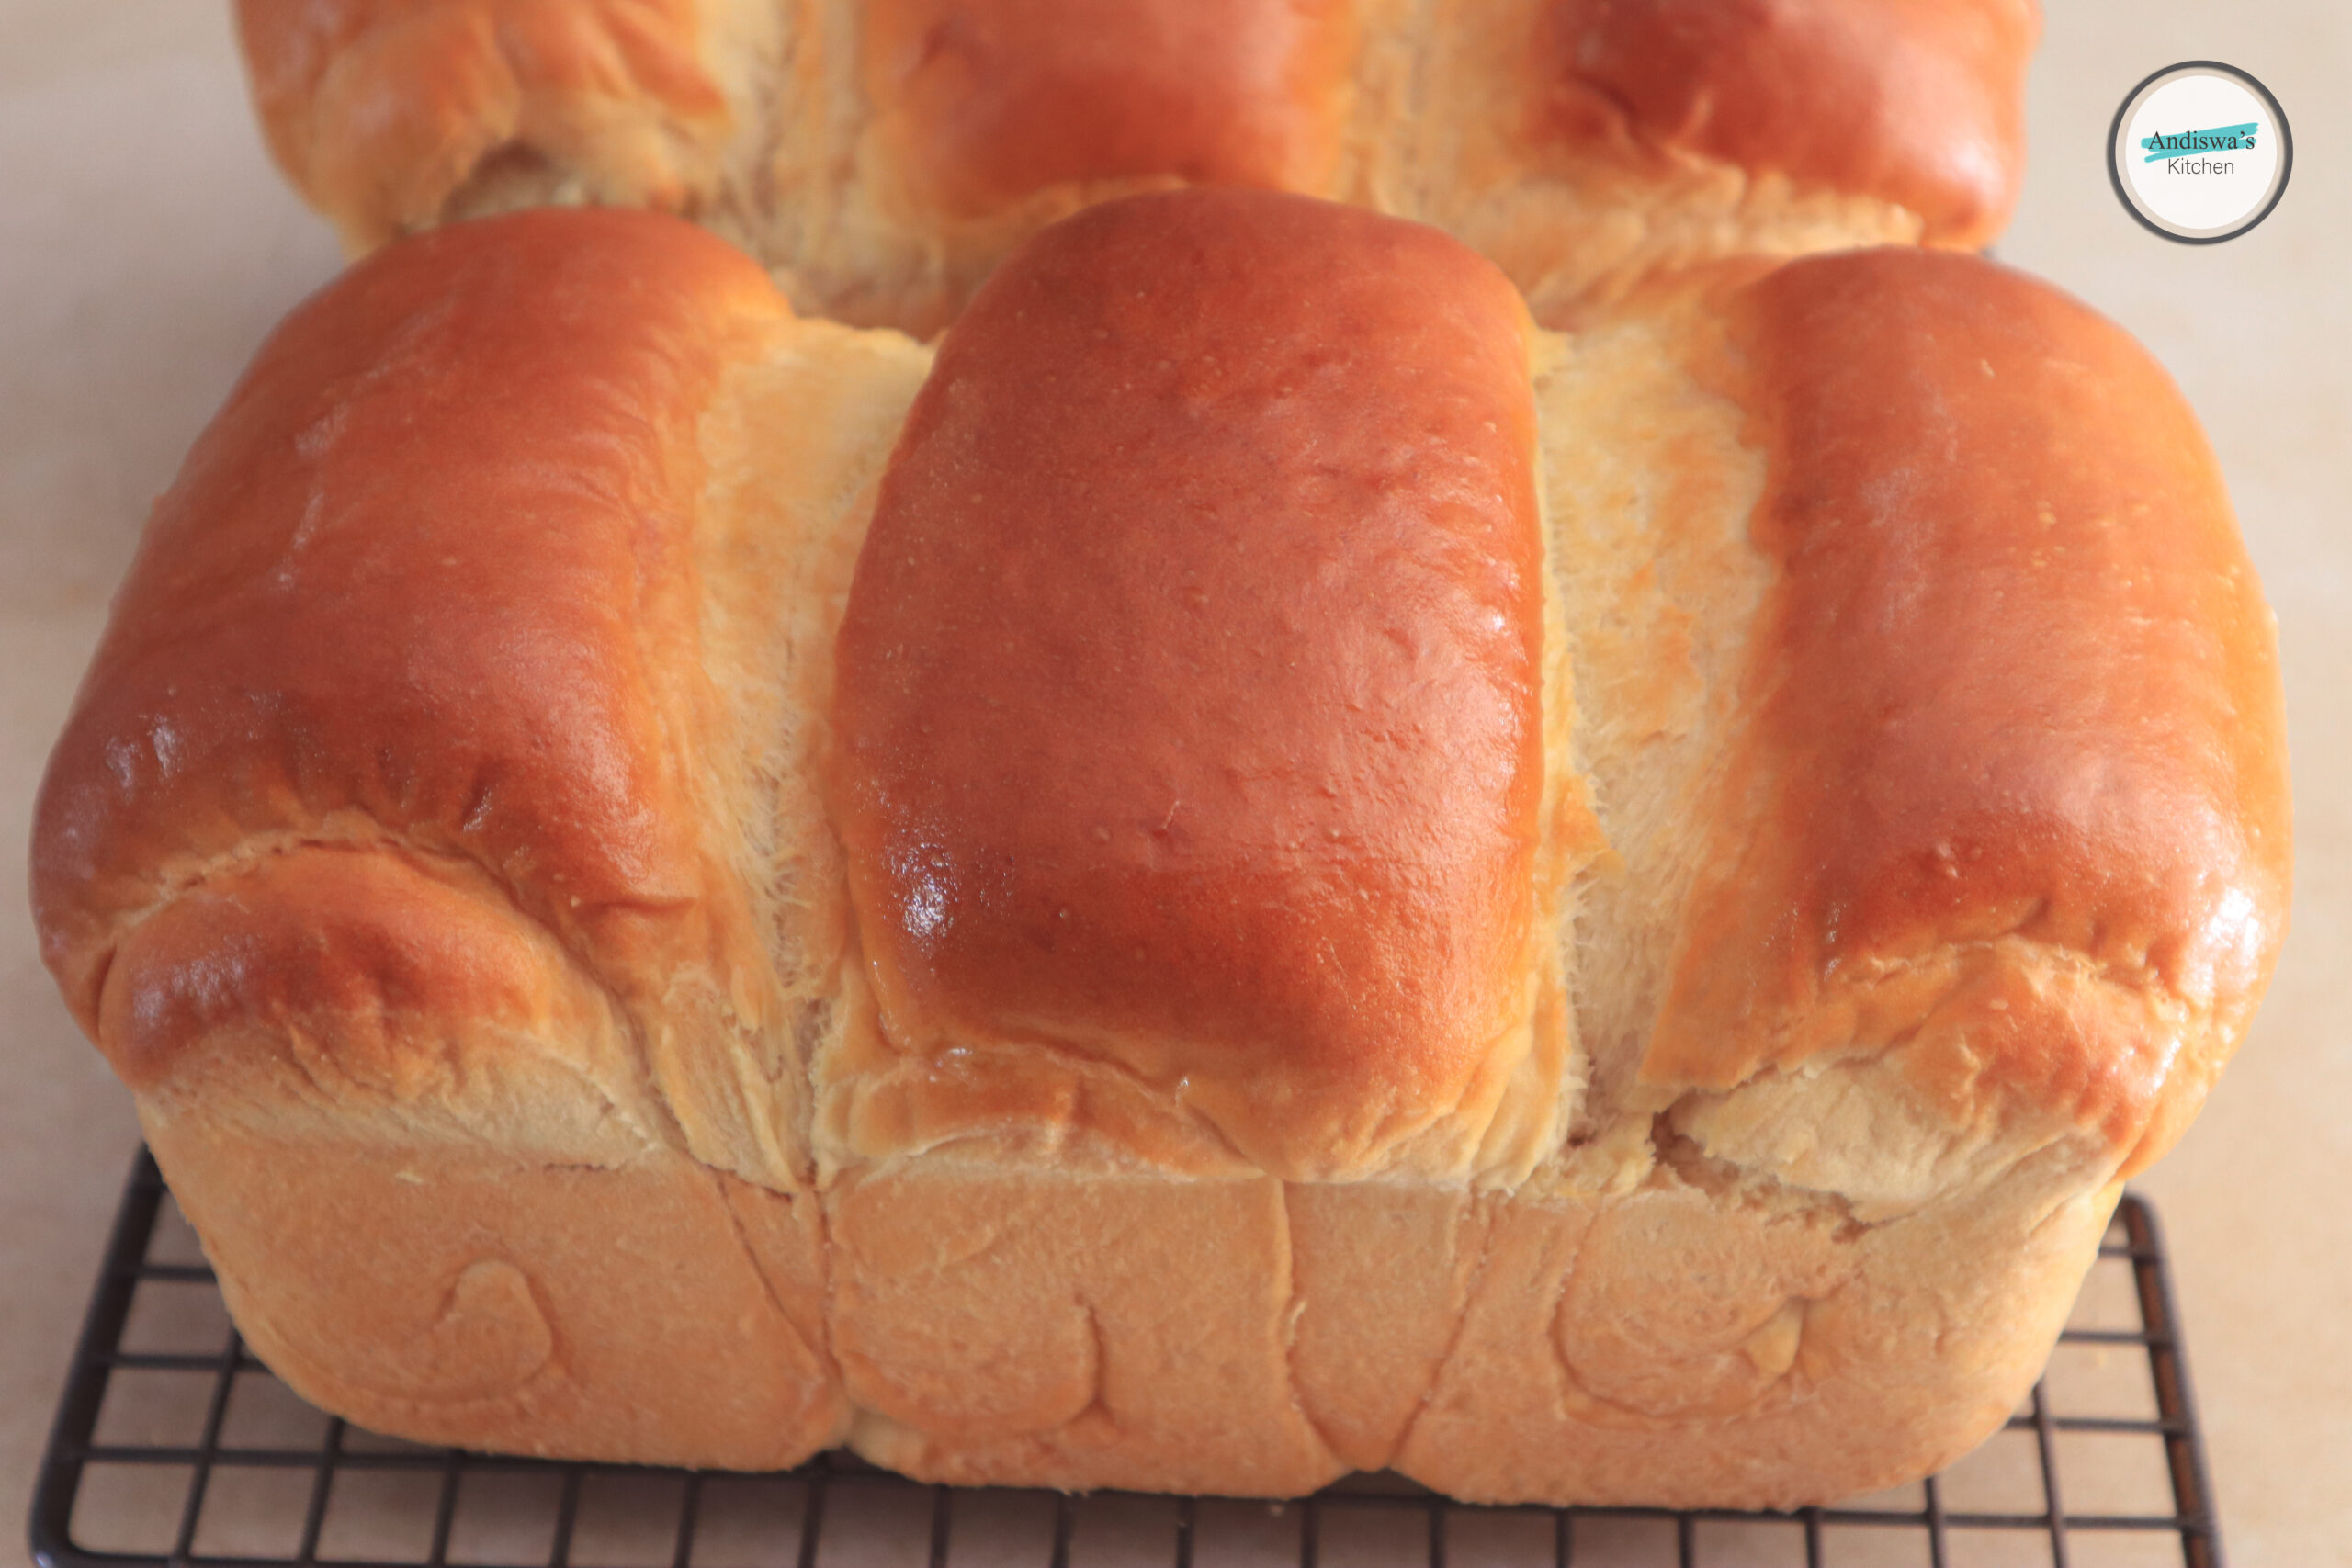
It’s fluffy and cloudy…
This is definitely one of the recipes I never thought I would share, for many reasons one being that, my friends think that I’m too generous and I should sell my recipes. The other reason is that, this is one of the recipes I treasure and keep developing from using normal bread flour to stoneground.
In the spirit pf giving and sharing, here it is:-)
The fluffiness is the same with both flours on the first day, however, shelf life differs due to the difference in flour milling and texture. Thus, it’s important to read through the recipe before making the bread.
About Japanese Milk Bread
Japanese milk bread, or shokupan, evolved from Western bread introduced during Japan’s Meiji era (1868-1912), becoming a national staple after WWII when wheat imports and rice shortages made bread popular, perfected by Japanese bakers using techniques like tangzhong (or yudane) to achieve its signature cloud-like, fluffy, soft, and slightly sweet texture, distinct from its denser European cousins.
Other names for it are Hokkaido milk bread, shokupan, and pai bao Shokupan translates to “eating bread” or “food bread” or “plain bread, in Japan the style is considered the standard bread of the country, where it is a common breakfast meal or eaten as a snack. It is carried in many bakeries in Asian countries. {source: Wikipedia}
Lately, there’s a growing tend that seeks to achieve the tangzhong effect without making the tangzhong. And since I have make the bread with tangzhong, I was curious about other methods, which I’m sharing today.
People wildly make this bread with using a stand mixer, but I think it can be achieved using our hands. As long as we use the method of kneading.
Anyway, if it’s not your first time here, you will know that there’s a lot I can write or say about bread.
I do hope you enjoy making this bread.
Japanese inspired Bread
Equipment
- 1 Standmixer
- 3 Bread Pans 23 or 24cm
- 1 Digital Scale
Ingredients
- 30 g Fresh Yeast See note 1
- 80 g Brown Sugar
- 1 kg Stoneground Bread Flour See note 2
- 60 g Powder Milk
- 403 g Still Water
- 123 g Full Cream Milk spoilt
- 30 g Oil
- 30 g Honey raw (non-radiated)
- 16 g Sea Salt
Instructions
Fresh Yeast
- Mix fresh yeast with 2 teaspoons of sugar (from the 80g one), stir until it liquifies.
Dough
- In a stand-mixer bowl, mix all the dry ingredients, stir to combine and set aside.
- In a jug, mix water, milk, oil, honey and the liquified fresh yeast, store until honey dissolves.
- Using a dough hook, start running the stand-mixer between speed 1 and on 2 for about 2 minutes to combine the ingredients.
- Then increase the speed to 4 for and run for 4 minutes.
- Again increase the speed to 6 for and run for another 4 minutes.
Resting
- Take out the dough from the stand-mixer, and shape it.
- Put it back and cover.
- Rest the dough for 20 minutes.
Kneading again
- Add 40g of soft butter, then knead the dough between speed 4 and 4.5 for 3 minutes.
- Let it rise for 1 hour or until it doubles in size.
Divide and shape
- Divide the dough into 9 equal pieces, then shape into balls, cover with kitchen cloth, then rest for 5 minutes.
Dough rolls, folding and preparing the pan
- Grease the pans with butter and coat with flour.
- Flatten one dough ball into a flat rectangle with a rolling pin. Fold the ends (short or long) towards the middle, then flatten again, roll it out tightly from a short end into a log, using a rolling pin, then roll the piece tightly into a spiral (like a Swiss roll). Repeat with the remaining dough.
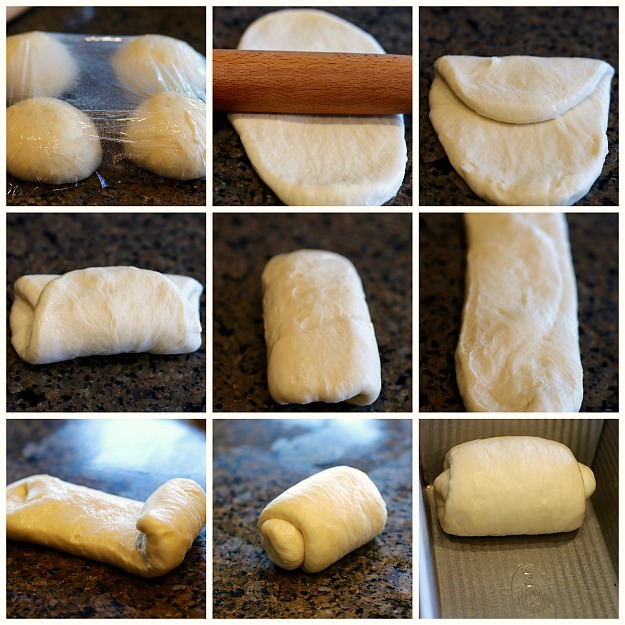
- Place into the greased pan.
Proofing
- Cover the dough in the pan with cling wrap.
- Proof for 50 minutes or until it doubles in size.
- Meanwhile, preheat the oven to 170
Baking
- Bake for 35 minutes
- Take it out of the oven and brush the top of the bread with butter. Leave it in the pan for 10 minutes.
- Transfer unto a wire rack and leave to cool for 30 minutes before cutting.
Notes
- If you use normal bread flour, know that the amount of liquid used may need to need adjusted. Thus, you will need to add it gradually as the flours are not the same.
- Fresh yeast can be requested at the grocery shop’s bakery, if yours doesn’t sell it. You can substitute with 10g instant yeast.