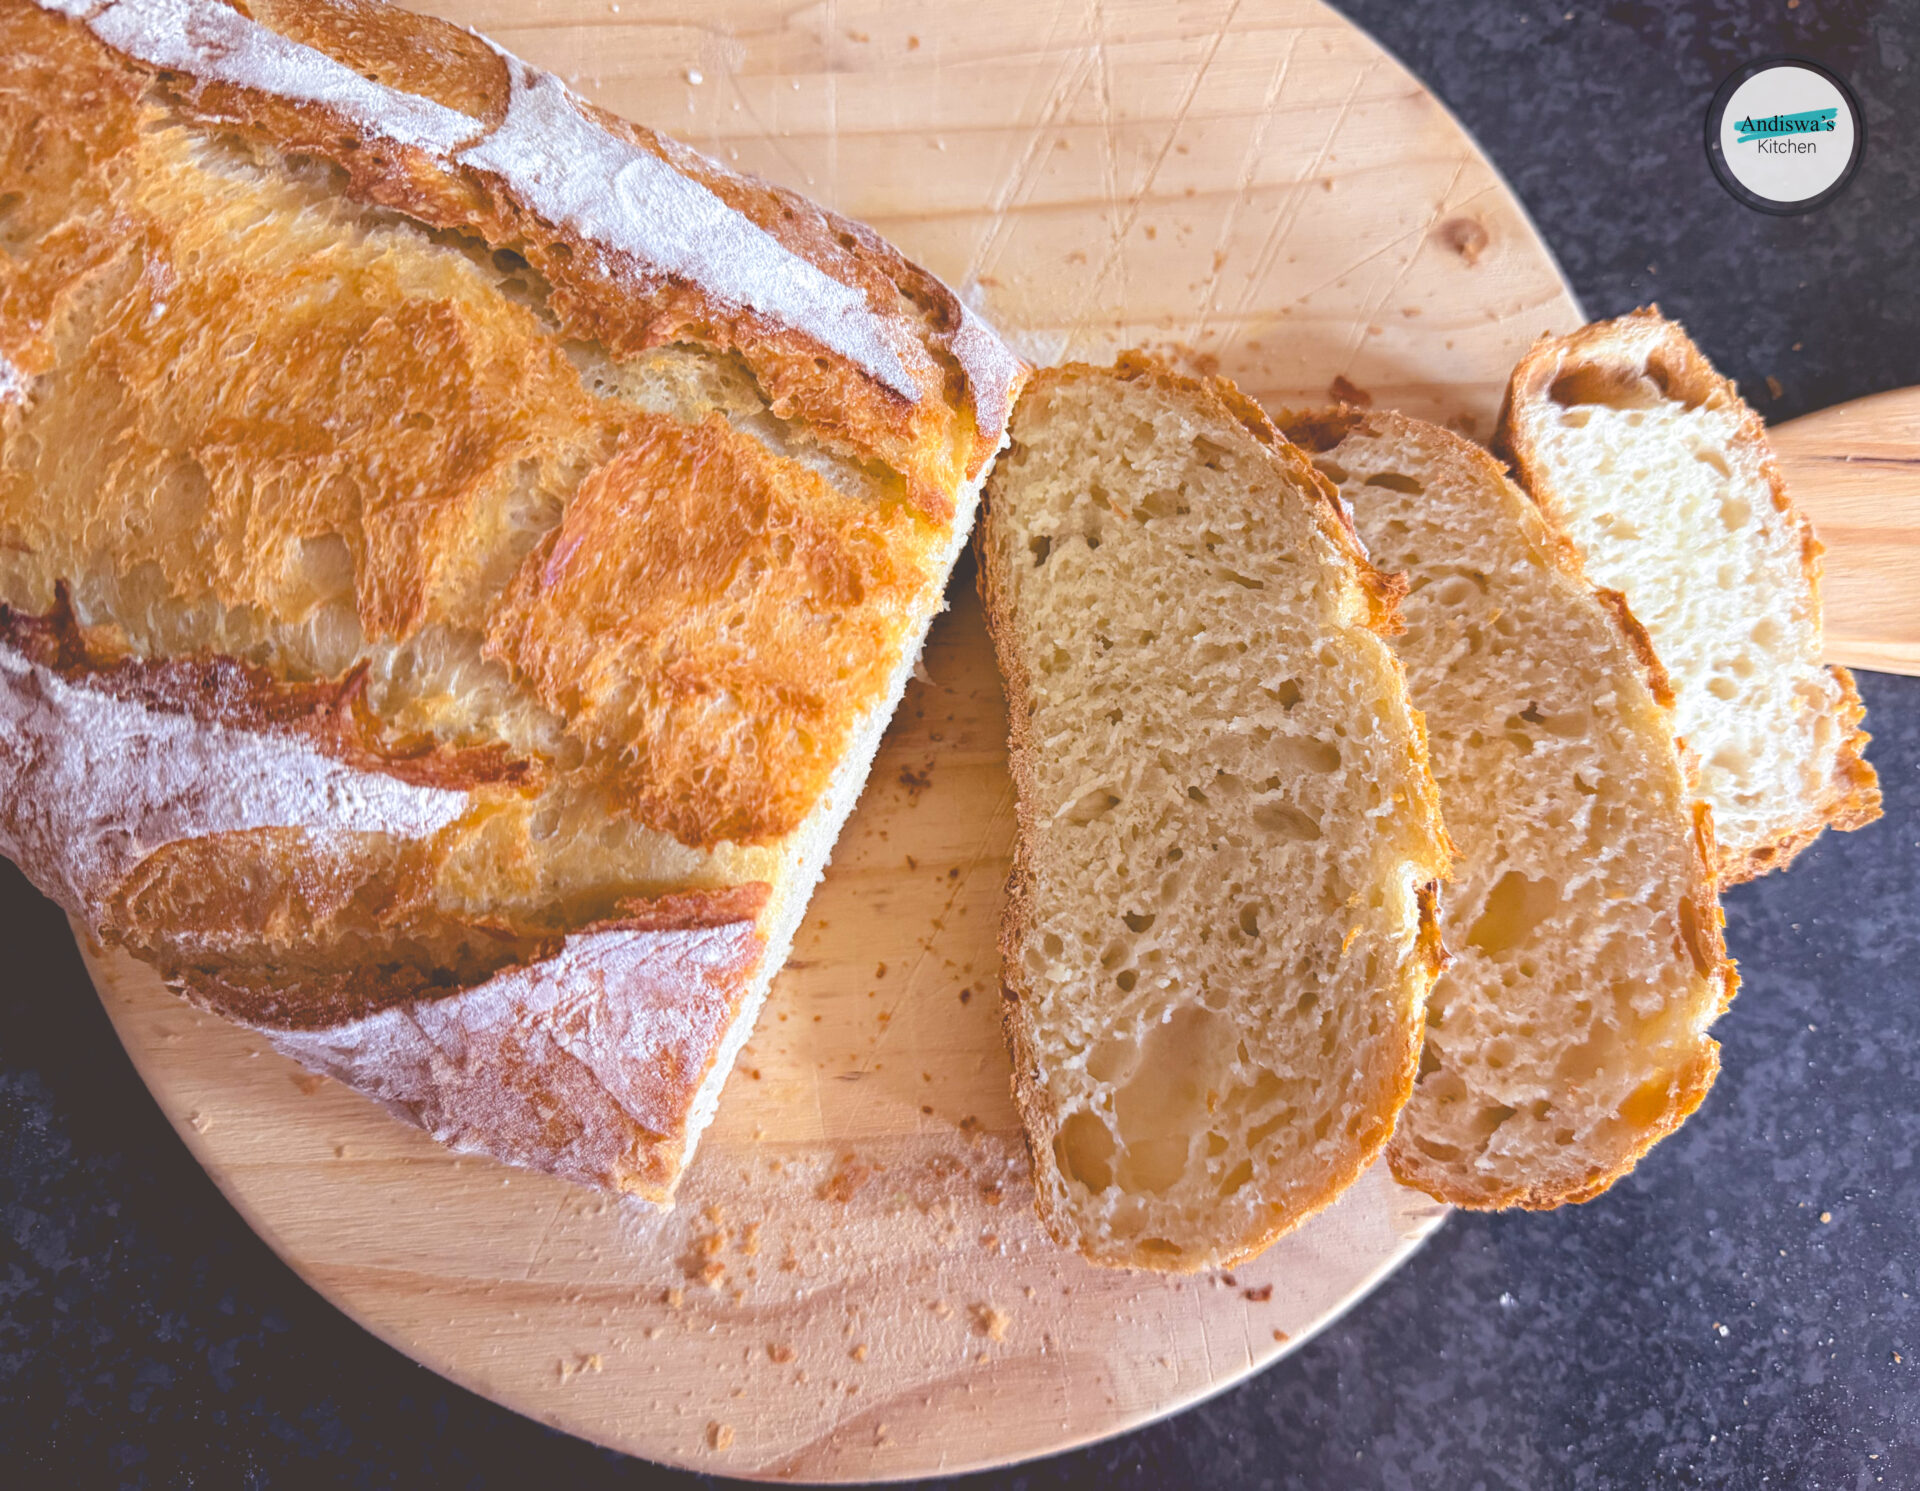
There are certain foods that carry more than flavour, they carry memory, comfort, and identity. For me, isonka sombhako, the traditional Easten Cape, South African bread, is one of those foods. It is not just bread; it is a story baked into every soft and warm slice.
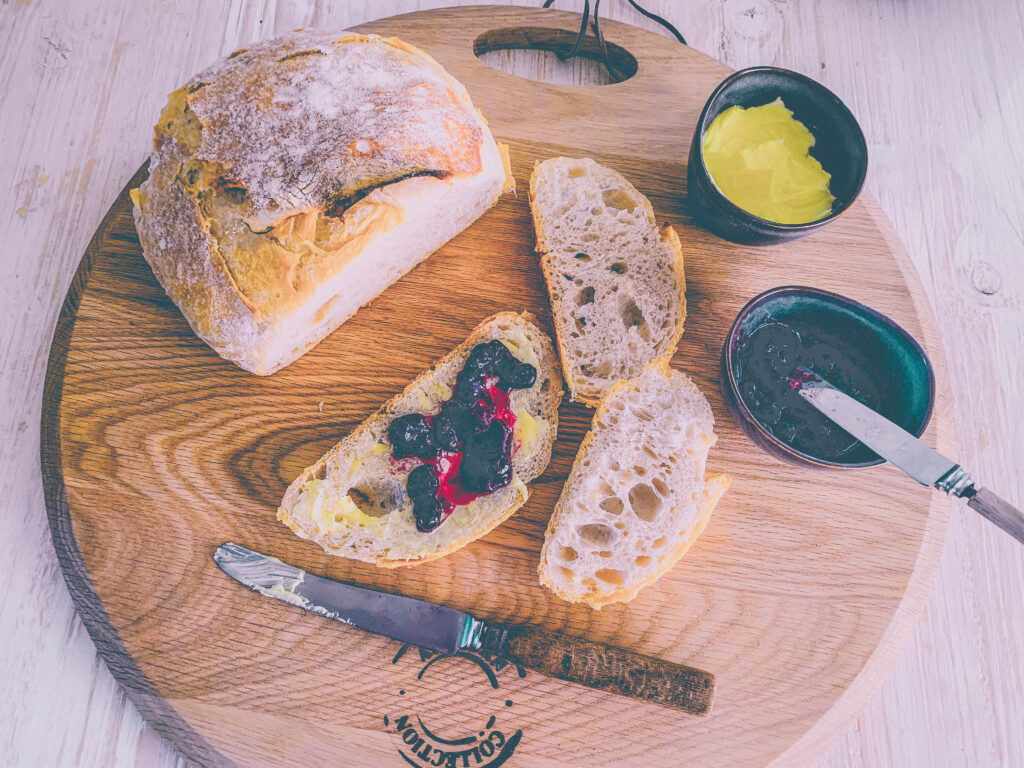
I grew up knowing isonka sombhako as the bread that was made as an alternative to steamed bread, baking gently in a pot on top of the stove. It was always there, waiting to be enjoyed with a spread of butter and sometimes with jam, with a cup of tea. The aroma alone, warm, slightly sweet, was enough to make the kitchen feel like the heart of the home.

This is the Eastern Cape stovetop version.
I have memories of my grandmother baking it slowly over coal fire in a heavy cast iron pot. And she would display different sizes of it on the kitchen counter, but, as kids we were not allowed to touch it until she offered it, it was always torture for a foodie like me.
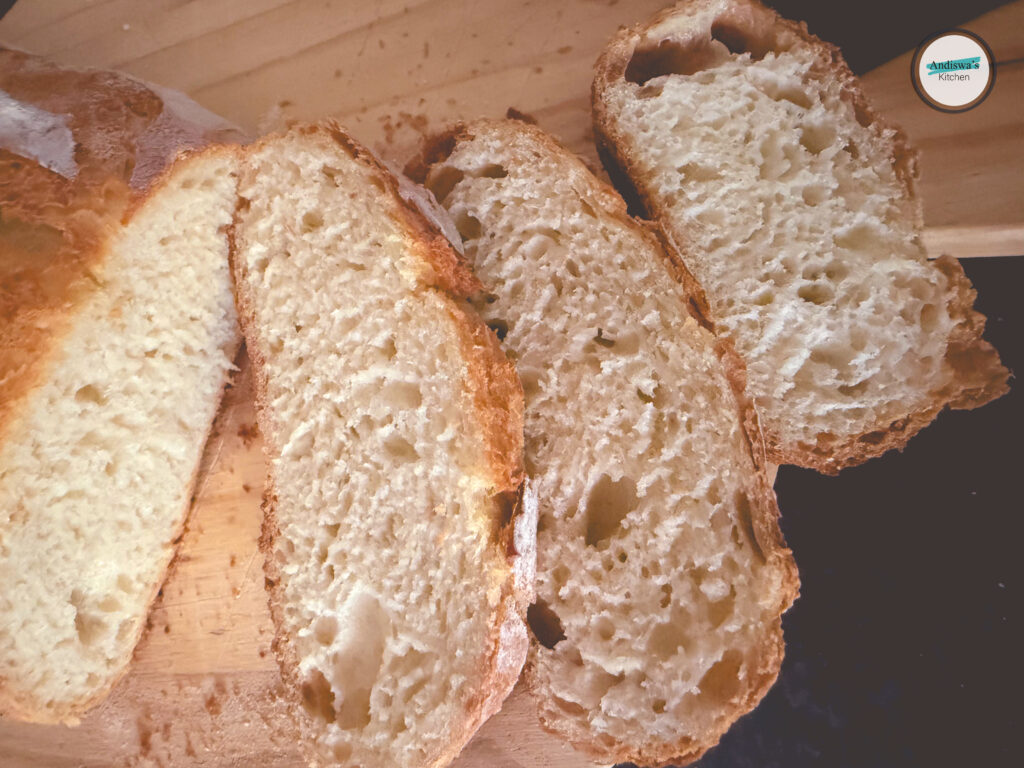
As life has gone on and my curiosity about food keeps leading me to new discoveries, I’ve realised there are many kinds of isonka sombhako. The Boer call it braaibak bread, while the English simply call it pot bread. To my delight, I also learned that it can be baked in the oven, each version coming out with its own unique look. For someone like me who loves bread but doesn’t always have the time to wait, this felt like the perfect little hack.
This is an Italian version I once made, recipe here.
My true “aha!” moment came when I discovered that this bread doesn’t even need kneading—it can be left to slowly ferment overnight, developing incredible flavour with almost no effort. That revelation made me so happy, and after experimenting with countless variations, today I’m excited to share the version that has become my favourite.
For me eating any kind of homemade bread is more than just filling my stomach, it’s about connection. It’s about sitting around the table, passing bowls of stew, and watching the bread disappear faster than I can slice it. It’s about tradition, about recipes handed down without measurements, just “a handful of flour” or “a pinch of salt.” It’s about the rhythm of kneading dough while stories are told, laughter shared, and life lived. I especially love eating it with a cup of coffee while unwinding.
Even now, whenever I make any version isonka sombhako, I feel that thread of continuity. I’m not just baking bread; I’m keeping alive a piece of heritage. And when I tear into that soft, steaming loaf, I’m reminded that food is one of the most powerful ways we carry our culture forward.
So, if you reading this from another country and ever find yourself in South Africa, don’t just try isonka sombhako, experience it. Eat it with your hands, share it with others, and let it remind you that the simplest foods often hold the deepest meaning.
Overnight Bread aka Isonka Sombhako, Pot Bread or Braaibak
Equipment
- 1 Enamel Roaster
- 1 Large mixing bowl
- 1 Digital Scale very important for better results
Ingredients
- 505 g Bread Flour See note 2
- 380 g Still Water boiled and cooled water will work too
- 10 g Salt Sea Salt or Dessert Salt
- 2 Teaspoons Sugar Brown
- 5 g Yeast Instant
- 1 Tablespoon Olive Oil Extra Virgin
Instructions
The Night Before
- In a mixing bowl, add flour, sugar and yeast, stir with a whisk to mix.
- Add salt and mix.
- Add oil and water, use dough hook or wooden spoon or a fork to roughly mix.
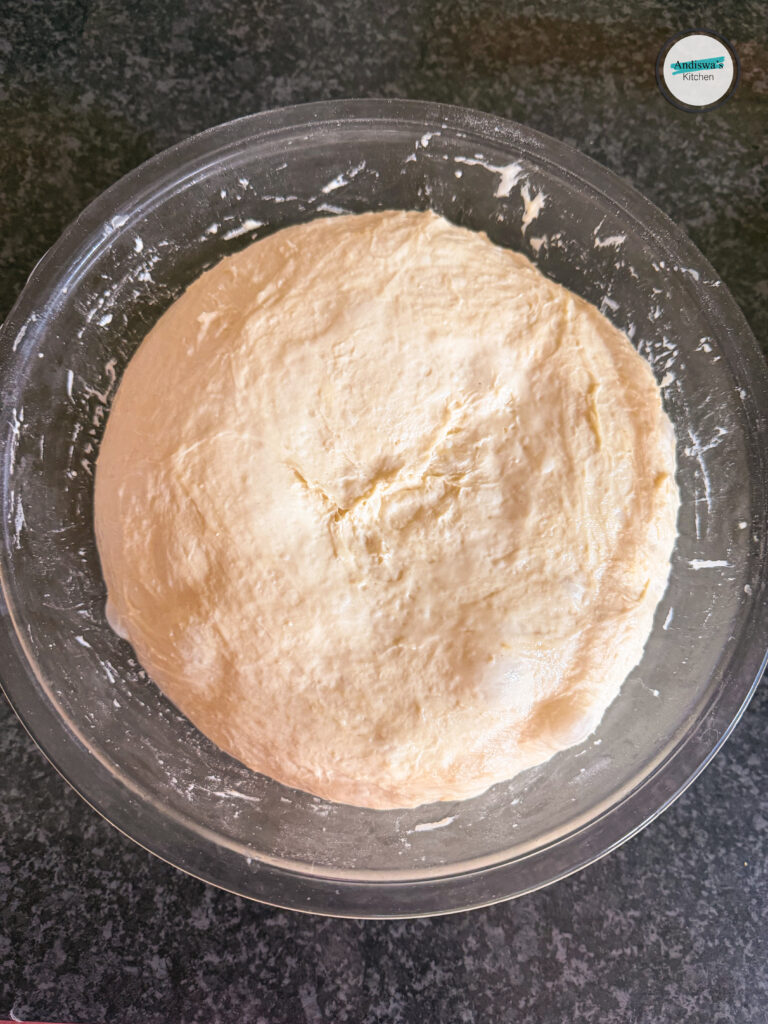
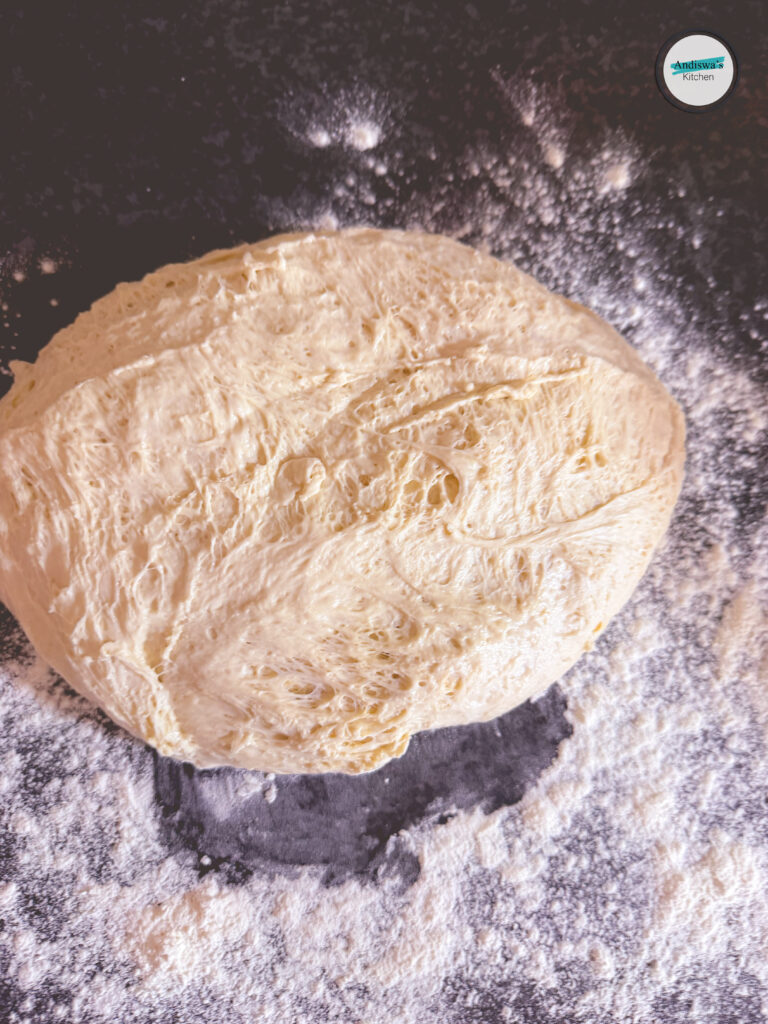
- Mix until everything is fully incorporated and no dry ingredients remain visible. Cover the bowl with cling wrap.
- Let it rest for 30 minutes.
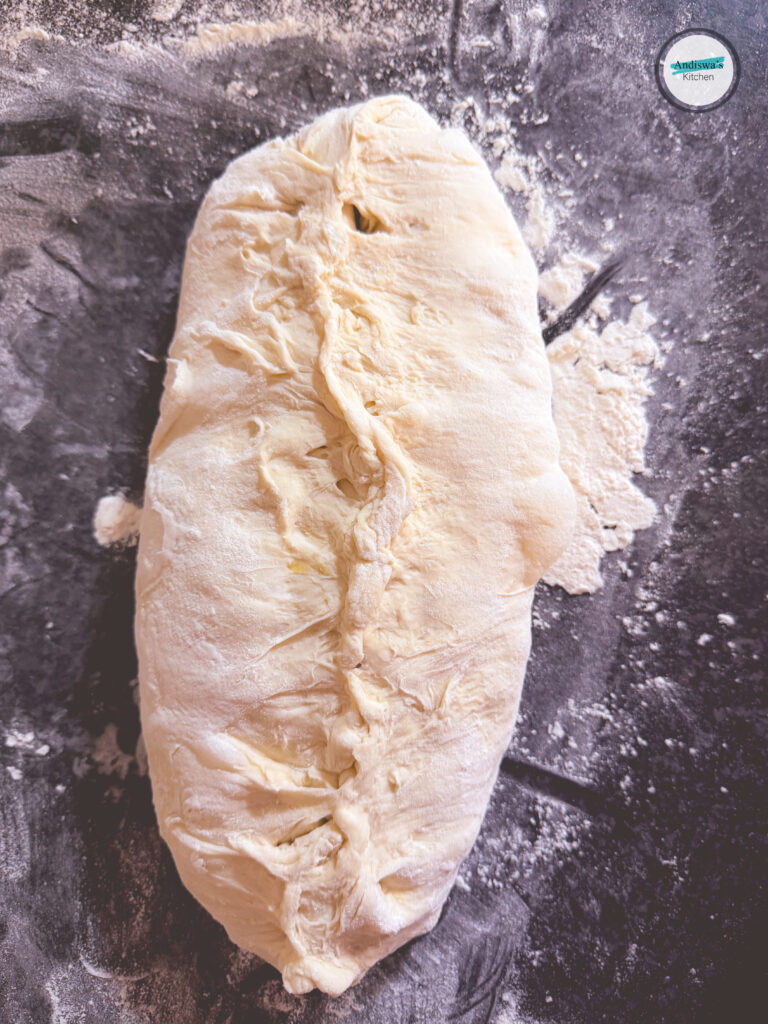
- With oiled hands stretch and fold four to six times.
- Let it rest for 30 minutes.
- With oiled hands stretch and fold four times.
- Cover the bowl with cling wrap and put in the fridge overnight. Between 12 and 16 hours.
The Next Day
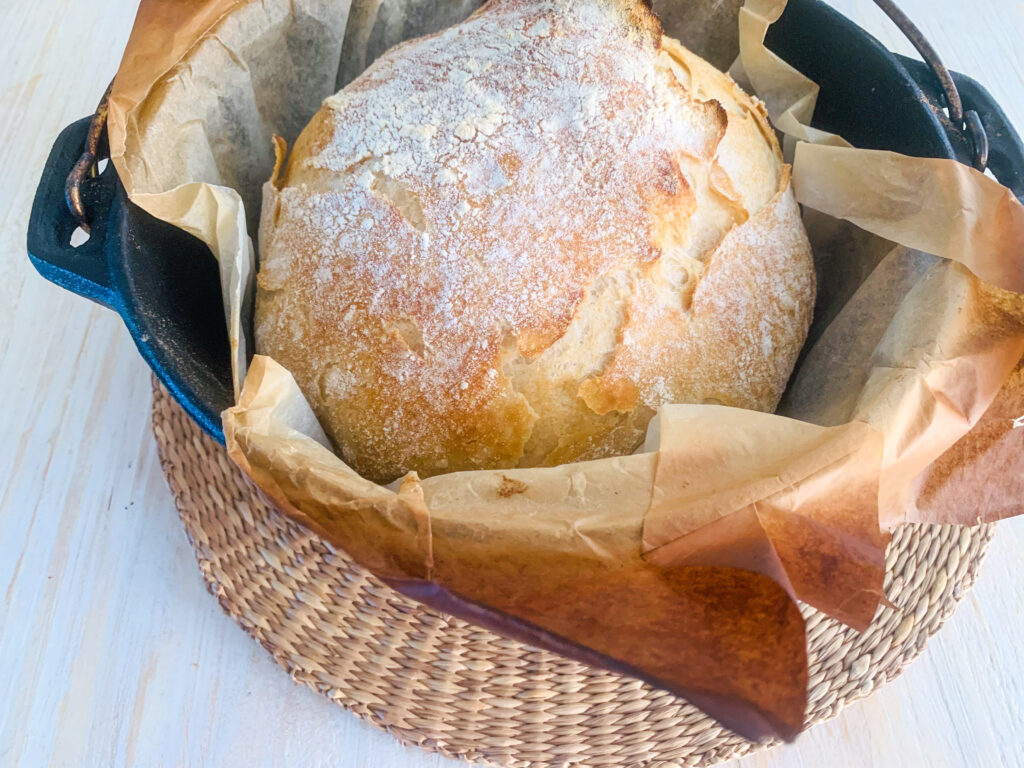
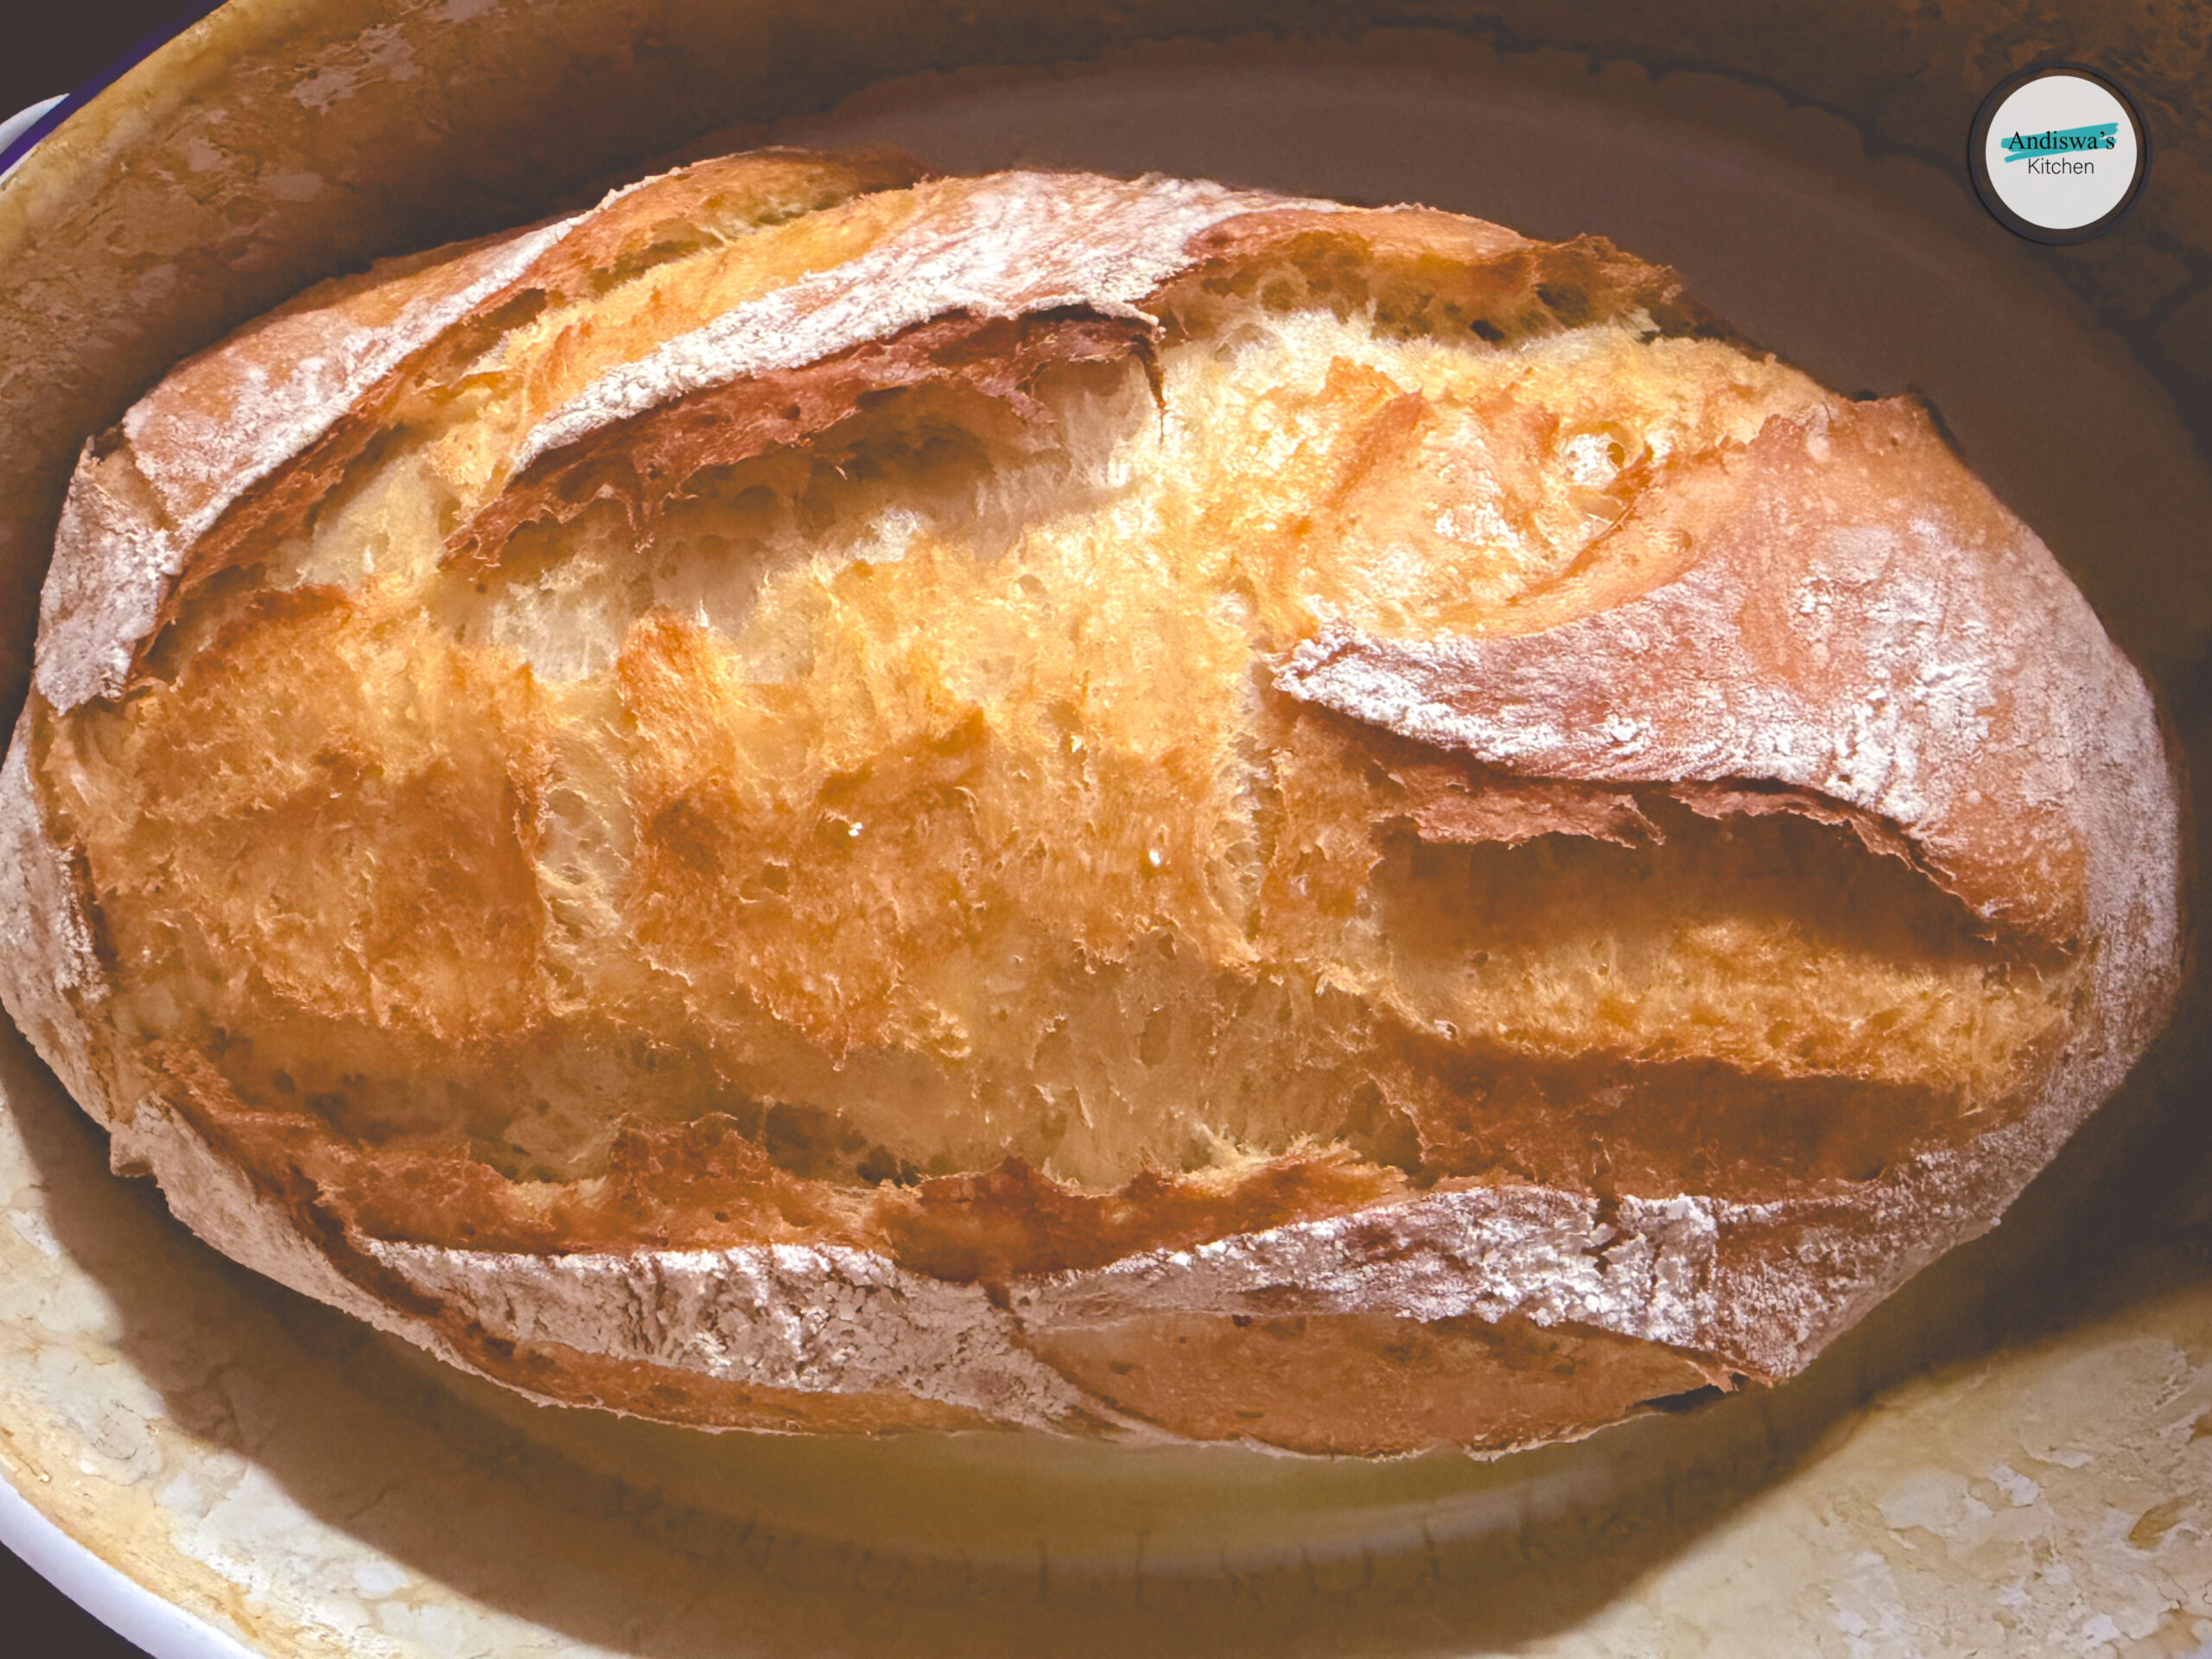
- Preheat the oven to 230℃ (see note 1). Place the enamel roaster inside and allow it to preheat for 30 minutes. I used an enamel roaster. See: https://shop.andiswaskitchen.com/product/roaster/
- Take out the dough from the fridge.
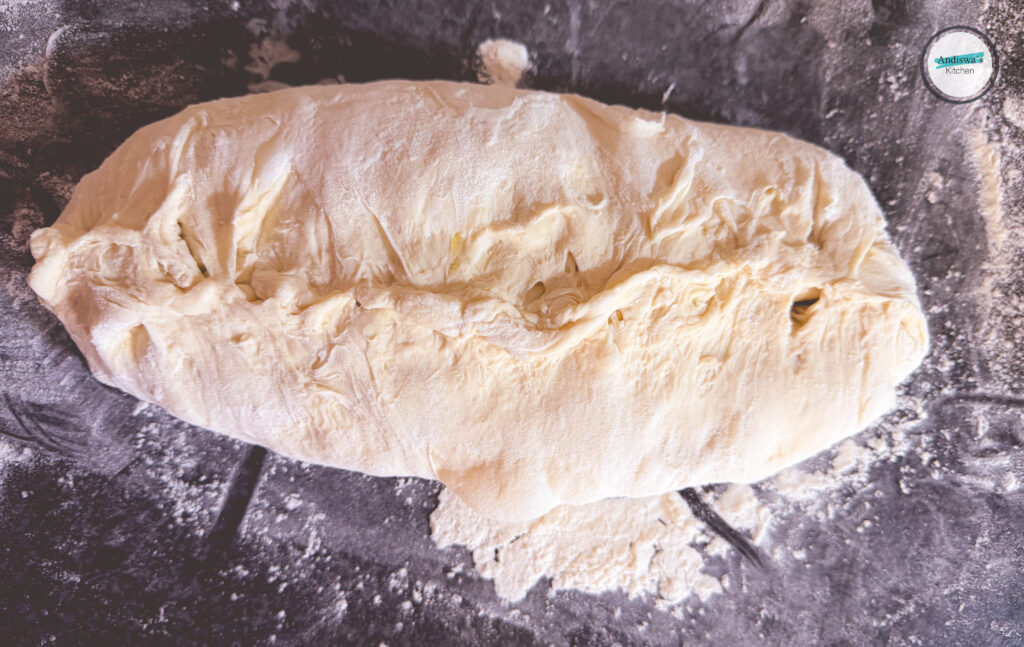
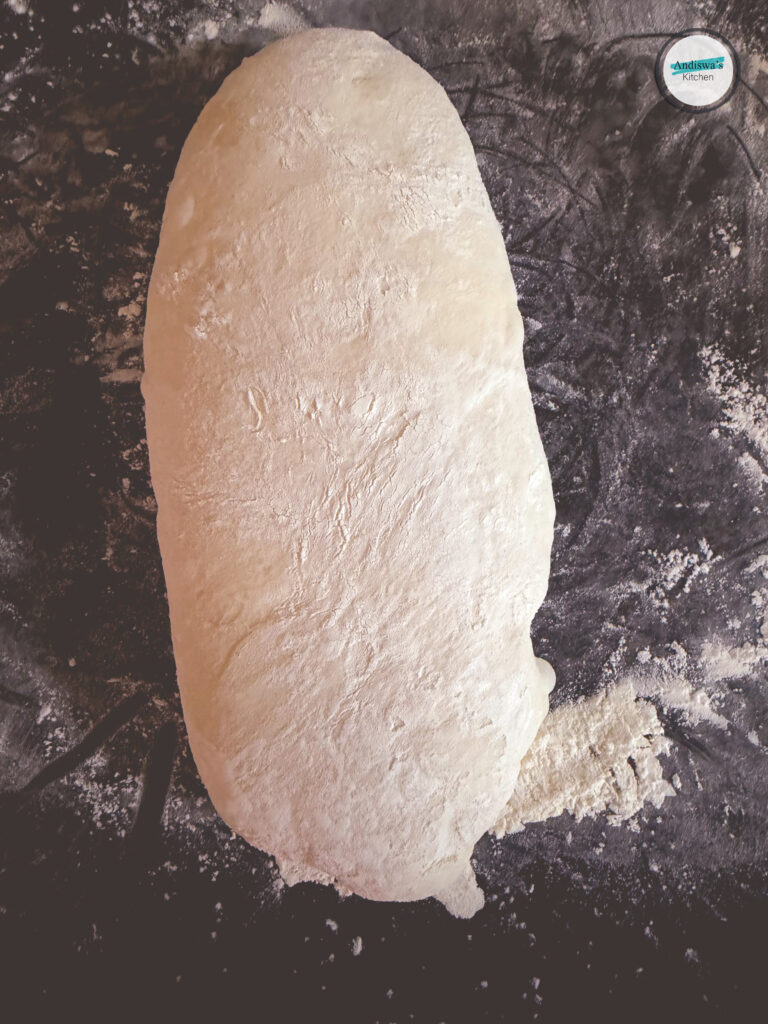
- Transfer the dough onto a floured work surface.
- Shape the dough into a log and seal it, or form it into a round shape if preferred.
- Turn the dough seam-side down.
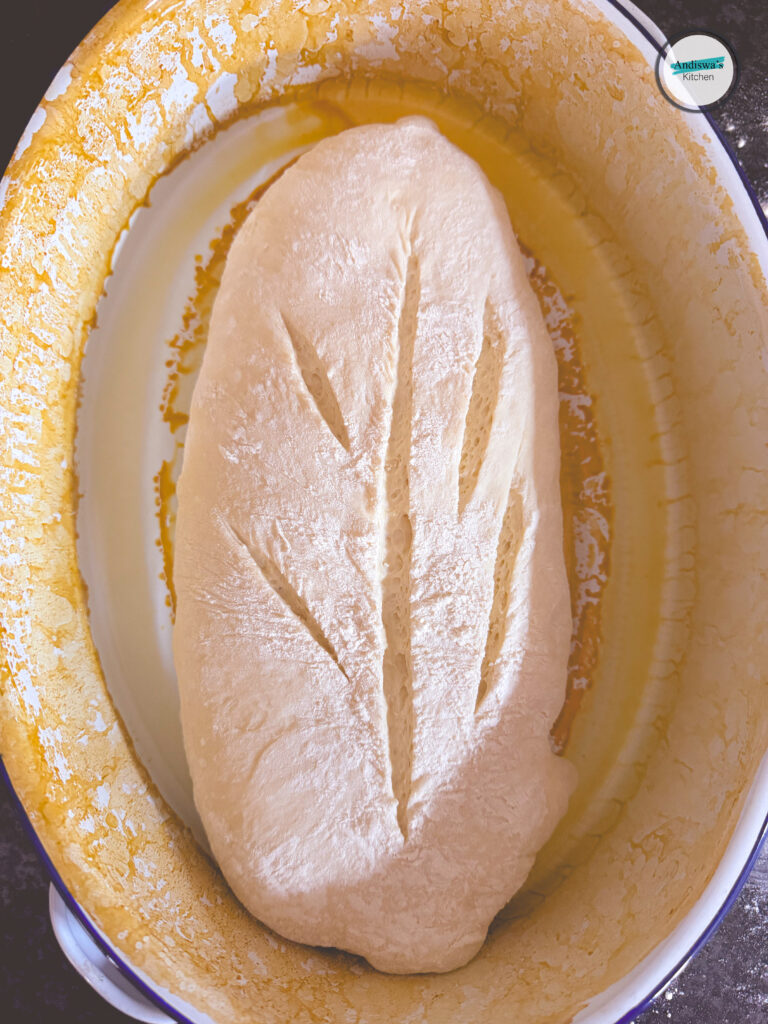
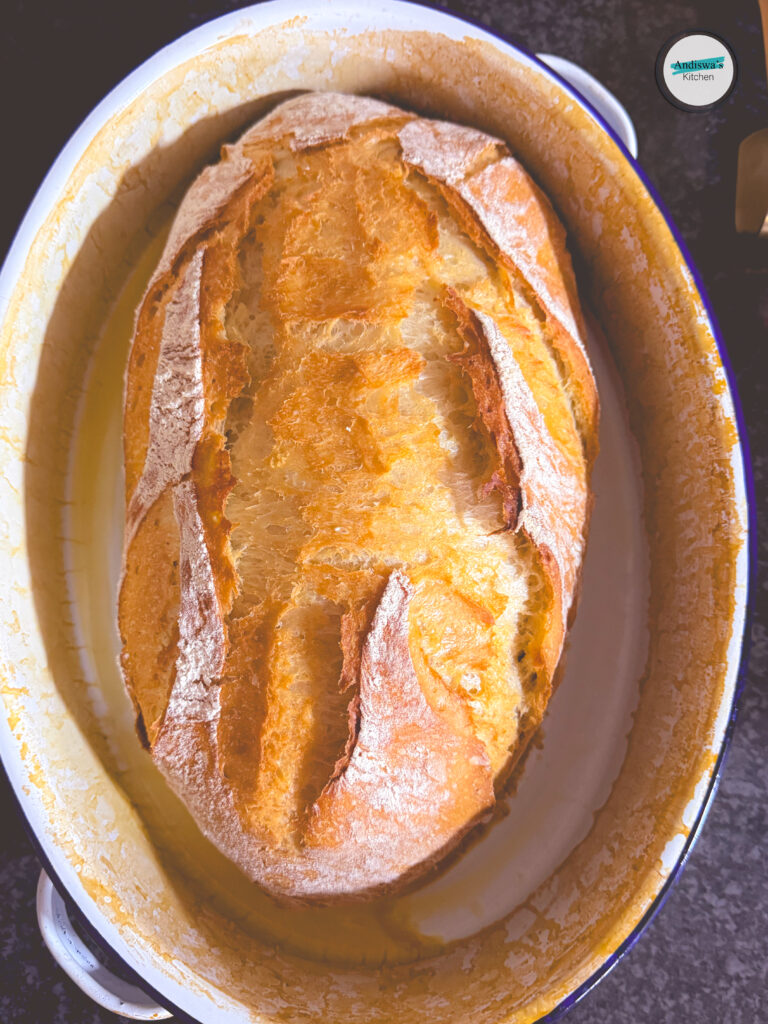
- Place the dough in the preheated enamel roaster and score the top with a blade or knife. You can oil the enamel roaster or line it with baking paper.
- Bake for 40 minutes with the lid on.
- Remove the lid, reduce the oven temperature to 200℃, and bake for 10 more minutes.
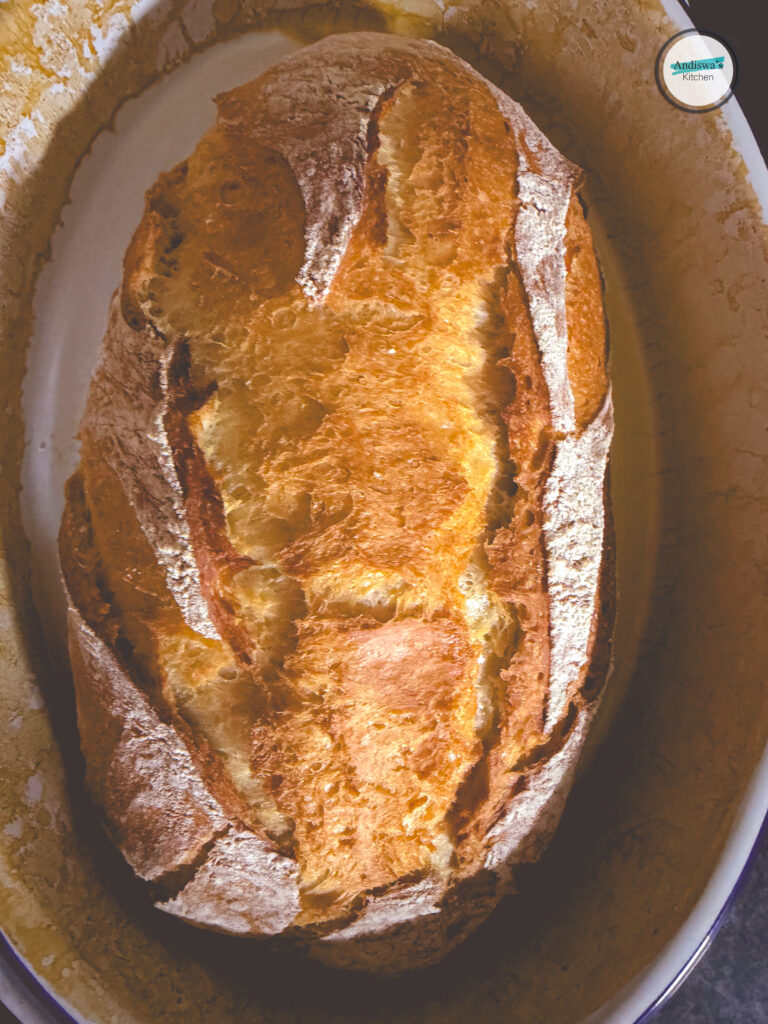
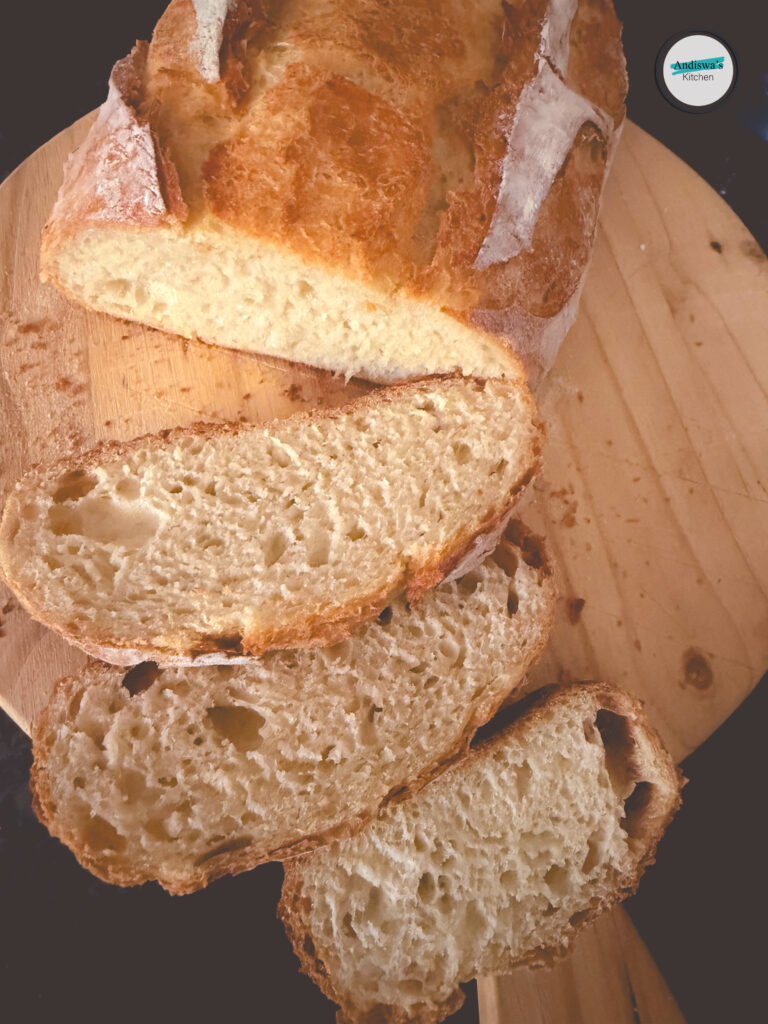
- Wait for the bread to cool for 30 minutes before cutting. It’s not an easy task, I know; but try!
- Enjoy!
Notes
- For the oven: it’s essential to understand how your oven regulates temperature, as this can vary from one oven to another. Understanding this will help you avoid disappointing results.
- Depending on your region, the type of flour you use, and the weather conditions, your dough may require more or less water.


Can’t wait to try it.
This is so beautiful, the pictures and story.
Will definitely try the recipe.
Thank you.